Step-by-Step Guide to Painting Project Planning
- Willalobos Horhe
- Oct 22, 2025
- 4 min read
Starting a painting project at home can feel overwhelming. I’ve been there myself, staring at a blank wall wondering where to begin. But with the right approach, planning your painting project becomes straightforward and even enjoyable. This guide will walk you through every step, helping you prepare efficiently and achieve professional results without stress.
Essential Painting Project Planning Tips
Before you pick up a brush or roller, it’s crucial to plan carefully. Good planning saves time, money, and frustration. Here are some key tips I always follow:
Assess the space: Measure the walls or surfaces you want to paint. Knowing the exact area helps you buy the right amount of paint and materials.
Choose the right paint: Consider the type of paint (matte, satin, gloss) and finish that suits your room’s purpose. For example, kitchens and bathrooms benefit from washable, moisture-resistant paint.
Set a realistic timeline: Painting takes time, especially if you need to prep surfaces or apply multiple coats. Plan your project over several days if necessary.
Gather all materials: Brushes, rollers, painter’s tape, drop cloths, sandpaper, and primer are essentials. Having everything ready avoids interruptions.
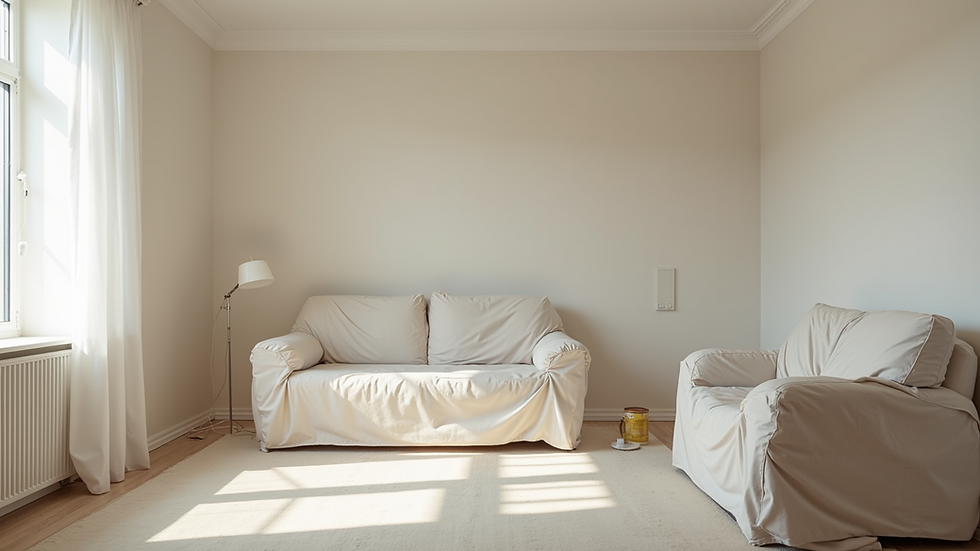
Prepare the room: Remove furniture or cover it with plastic sheets. Clean walls and repair any cracks or holes before painting.
Taking these steps seriously will make your painting project smoother and more enjoyable.

How to Choose Paint and Tools for Your Project
Selecting the right paint and tools is more than just picking your favorite color. It’s about matching the paint type and tools to your project’s needs.
Paint types: Latex paint is popular for interior walls because it dries quickly and cleans up easily. Oil-based paints are durable but take longer to dry and require solvents for cleanup.
Finish options: Flat or matte finishes hide imperfections but are less washable. Satin and eggshell finishes offer a slight sheen and are easier to clean. Glossy finishes are shiny and durable but highlight surface flaws.
Tools: Use high-quality brushes for trim and edges, and rollers for large flat surfaces. Consider a paint sprayer for faster coverage, especially on textured walls or exteriors.
If you’re unsure about the best paint or tools, consulting a professional can save you time and money. For example, painting project planning ideas include expert advice on paint spraying services that can speed up your project and improve the finish.
How to Plan Your Art Project?
When planning an art painting project, the approach is similar but with a creative twist. Here’s how I break it down:
Define your vision: What do you want to create? Sketch your ideas or gather inspiration images.
Select your materials: Choose the right canvas, paints (acrylic, oil, watercolor), and brushes.
Set up your workspace: Ensure good lighting and ventilation. Protect surfaces from spills.
Plan your steps: Decide on the order of painting layers, drying times, and any special techniques.
Schedule your time: Art projects often require patience. Allocate time for each stage without rushing.
This structured approach helps keep your creativity focused and your project on track.

Preparing Your Space for Painting
Preparation is the foundation of a successful painting project. Here’s what I recommend:
Clear the area: Move furniture out or to the center and cover with drop cloths.
Clean surfaces: Dust and wash walls to remove dirt and grease.
Repair damage: Fill holes and cracks with filler, then sand smooth.
Protect trim and floors: Use painter’s tape along edges and cover floors with plastic or cloth.
Prime if needed: Primer improves paint adhesion and hides stains or dark colors.
Taking time to prepare properly means your paint will look better and last longer.
Tips for Efficient Painting and Cleanup
Once you start painting, efficiency matters. Here are some tips I use to keep things moving smoothly:
Work top to bottom: Paint ceilings first, then walls, and finally trim.
Use the right technique: Rollers for large areas, brushes for edges and corners.
Apply thin coats: Multiple thin coats dry faster and look better than one thick coat.
Keep a wet edge: Avoid lap marks by painting adjacent sections before the paint dries.
Clean tools immediately: Wash brushes and rollers right after use to keep them in good condition.
When you finish, remove painter’s tape carefully and ventilate the room to speed drying.
Making Your Painting Project Stress-Free and Successful
Planning your painting project well is the key to a smooth experience. From choosing the right paint to preparing your space and working efficiently, every step counts. If you want to save time or need expert help, consider professional services. They bring experience and quality that can transform your home effortlessly.
Remember, a well-planned painting project not only refreshes your space but also adds value and comfort to your home. Take your time, follow these steps, and enjoy the process of creating a beautiful environment.
If you want to explore more painting project planning ideas, check out professional services in your area that can assist with paint spraying and decorating.
By following this guide, you’ll be ready to tackle your next painting project with confidence and ease. Happy painting!


Comments